Showing posts with label Plant dyeing. Show all posts

Friday, 18 September 2015

Dyed in the Wool

Lately, I've been spamming Facebook and Instagram with prettily arranged collages of differently coloured dyed-in-the-wool...wool. I bought it from The Mulberry Dyer at the market during this summer's big reenactment event, the Battle of Azincourt 1415-2015.
I'm not really a big event person - I turn into a shy, anti-social clam and usually end up with a migraine to boot - but I'm very happy I went to Azincourt this summer. I mean, a 600-year anniversary only happens once!
Why did the reenactor go to France?
To stand slouching forlornly in a muddy field. In the rain. Apparently.
Photo: Karolina
I also spoke more French at (yes, at...) bemused strangers than I've ever done before, which is very unlike me but in A Good Way. And I really enjoyed the market at the event.

As usual, some of the stuff being sold was mostly for the tourists, but a great many merchants were there for the reenactors, which was really nice. As more and more merchants arrived, those of us staying in the camp could actually say "Let's go down to the market and see what's new today!" Some of my fellow Swedes went shopping crazy, but I tried to stick to my (questionable? stupid? vain?) decision to stay away from All That Fancy Stuff. We don't do personas like they do in the SCA, but I'm quite sure "medieval me" wouldn't be anywhere near a high status lady. My reenactment group Albrechts Bössor portrays a company of mercenary gunners and I myself (obviously) have a strong leaning towards textile crafts like spinning and weaving on a more or less professional level. So no overly conspicuous consumption for me, as long as I hang around with mercenaries or do the work of a middle class artisan/craftsperson...
But I did spoil myself with a small, slightly 'out-of-chatacter' item, something I've wanted for a very long time: an ink pot.
The Azincourt Loot. Wool, a wooden mug, the ink pot, thread reels and spindle whorls

Well, back to the wool. I really like spinning dyed wool, it always puts a smile on my face to look up at the distaff and see a brightly coloured ball of fluff sitting there. The spinning of dyed wool is never shown in medieval artwork, though (not that I know of), but it was done. There are medieval finds of raw wool from Hull, England, that were dyed with an indigotine dye (most likely woad) (Armstrong & Ayers 1987) and according to John Munro, dyeing could take place during any stage of fabric production; as wool, as thread and as finished cloth (Munro 2003). The 15th century English translation of the 13th century manuscript De doctrina cordis - The Doctrine of the Hert  - says that cloth that was dyed in the wool never lost is colour, "but þe cloth þat is died in cloth, it wille oft tyme chaunge colour" (Woolgar 2006, 160). The Doctrine of the Hert is a devotional text for nuns, so the statement is probably used allegorically, but it's still an indication of the actual practice of dyeing in the wool and that it was considered to create a good and fast colour.
The wool turned into big rolags. IT'S SO FLUFFY!!!

The wool I bought from the Mulberry Dyer was dyed with madder (the red and pale pink), woad (the blue) and woad/weld (the green) on white Shetland wool. She didn't have very much dyed wool to sell at Azincourt, so I simply picked the shades that I could get more than 10 grams of. My first thought was to use the yarn as singles to add stripes to a fabric on the Big Loom, but I eventually decided to make the yarn two-ply instead and use it for tablet weaving.
Spindle and distaff collage. The colours, THE COLOURS!

Most of the green thread was spun at the 100 Jahre 14tes Jahrhundert event at Ronneburg at the end of August. My distaff was nicknamed The Muppet, for obvious reasons. Who knew muppets were such a joy to spin?! ;-)
The Muppet (much diminished) and me at Ronneburg. Photo: grafips.de

The Muppet also forced me to stretch my meagre skills of speaking German to the limit as it generated quite a few questions from the visiting public: "Ich spinne. Handspindel. Rocken. Schafwolle. Gefärbt. Mit Reseda und Waid. Ich mache faden." I also did a bit of wool combing, but it was too frustrating not being able to quite explain what I was doing (one member of the public thought I was making a wig!), so I decided to stick to spinning after a while. The result of the combing will be the focus of a future blog post though, but for now I'll just post a few more gratuitous pictures of pretty wool.
Oh, and while I have your attention - check out this insightful blog post about historical threads, written by some friends of mine:
The Crucial Thread (text in both Swedish and English)

It's not easy being green. The Muppet: spun, wound onto reels for plying, and plied

And here's how I make the big rolags:

 
The commercially prepared and plant-dyed wool is much too sticky to spin as it is when using a distaff and the one-hand drafting technique seen in medieval depictions of spinners. It needs to run smoothly from the distaff into the thread, so the sticky fibres have to be separated. I do this by drafting the top into a much thinner one. From this top I then pull off shorter lengths of fibres and arrange them next to each other in a big fluffy pile before rolling them up and attaching them to the distaff. Now the fibres will be all mixed up when I draft and that's the way I want it. This particular type of Shetland wool has pretty short fibres and although it's perfectly possible to both comb it and spin it worsted style, it doesn't really make what I think of as a true worsted thread, not in medieval terms (for that I want longer and hairier wool). So I prefer to spin it as a woollen thread.


References:

Armstrong, P. & Ayers, B. 1987. Excavations in High Street and Blackfriargate. Hull old town report series no. 5. East Riding Archaeologist vol. 8.

Munro, J. 2003. "Wool and Wool-Based Textiles in the West European Economy, c.800 - 1500: Innovations and Traditions in Textile Products, Technology, and Industrial Organisation". In Jenkins, David T. (ed.) 2003. The Cambridge history of western textiles. 1. Cambridge: Cambridge University Press
Woolgar, C. M. 2006. The Senses in Late Medieval England


Tuesday, 7 July 2015

Weaving Vadmal VI - The Dress

At long last, I'm finally able to post a few pictures of the finished dress made from my hand-woven, fulled and plant-dyed fabric of the previous posts!

I had hoped to get some nice photos of it during Albrechts Bössor's spring march/fighting practice in early May, but it was so cold then that I never removed my overdress during the three day camping-in-the-forest event. It even snowed a little!


But the sun came out for a bit so I could hitch up my overdress without freezing my legs off!

This past weekend, however, was the opposite of cold. It was also the re-launch of Medeltidsdagarna at Hallands Kulturhistoriska Museum, an event that Albrechts Bössor have been proud to attend for several years with our living history display. For some reason, the Varberg event always tends to be very, very hot and this year was no exception. It was well over 30 degrees and we had our camp pitched on top of the ramparts with little shade during the day. Needless to say, I didn't have to worry about the overdress this time... So here it is: the (almost) finished dress!
Staying cool in wool, with a reed hat
Picture (cropped) by
Sarah


Me talking about medieval textiles during our 'From sheep to hem'-display
(Från får till fåll - it sounds a lot catchier in Swedish...). Picture by Karl


I still have to do the buttons for the sleeves, but other than that, it's done!

Here you can find more pictures from Medeltidsdagarna; Albrechts Bössor are in quite a few of them!

Friday, 27 February 2015

Weaving Vadmal V - The Finished Fabric

In medieval times, the fulled fabric was stretched on tenterhooks while still damp to get its final shape (from which we get the English expression 'to be on tenterhooks'). Not having a tenter around, or even a wall on which to nail my fabric, I had to make do with the slightly more modern finishing treatment of rolling it on a plastic tube instead. And re-rolling it once a day until it was completely dry. Normally, this wouldn't have been a problem. As it happened, me and boyfriend J-E were leaving to go backpacking in Switzerland the day after I returned from the fulling mill... No time for the fabric to dry.

Rolling the fabric (or keeping it stretched out) while it dries is rather important to get a good finish and remove any wobbliness introduced into the fabric by the violent fulling process. Skipping this stage was not something I wanted to do after spending so much time and effort on my fabric... Letting it dry on the plastic tube was not an option either; I didn't want to risk it going mouldy in my abscence! Eventually, I resorted to a kind of speed drying that worked surprisingly well: The house we live in has room for drying laundry in, equipped with a great big hot air fan. I stayed up all night (more or less), re-rolling my fabric every couple of hours, letting it sit on the plastic tube in the drying room in between.

Fabric. On a roll!
The result was that, by morning, my fabric was completely dry and had been stretched and rolled just as many times as it would have been had I done it the proper way. And it was nice and smooth too. Success!

After two weeks of trains, medieval churches struck by iconoclasts and quite a few alps and weird biscuits, I was back home and ready to cut my cloth. 

Swiss Collage: Best train ride ever! - Neuchâtel tomb - Happy Swiss biscuits
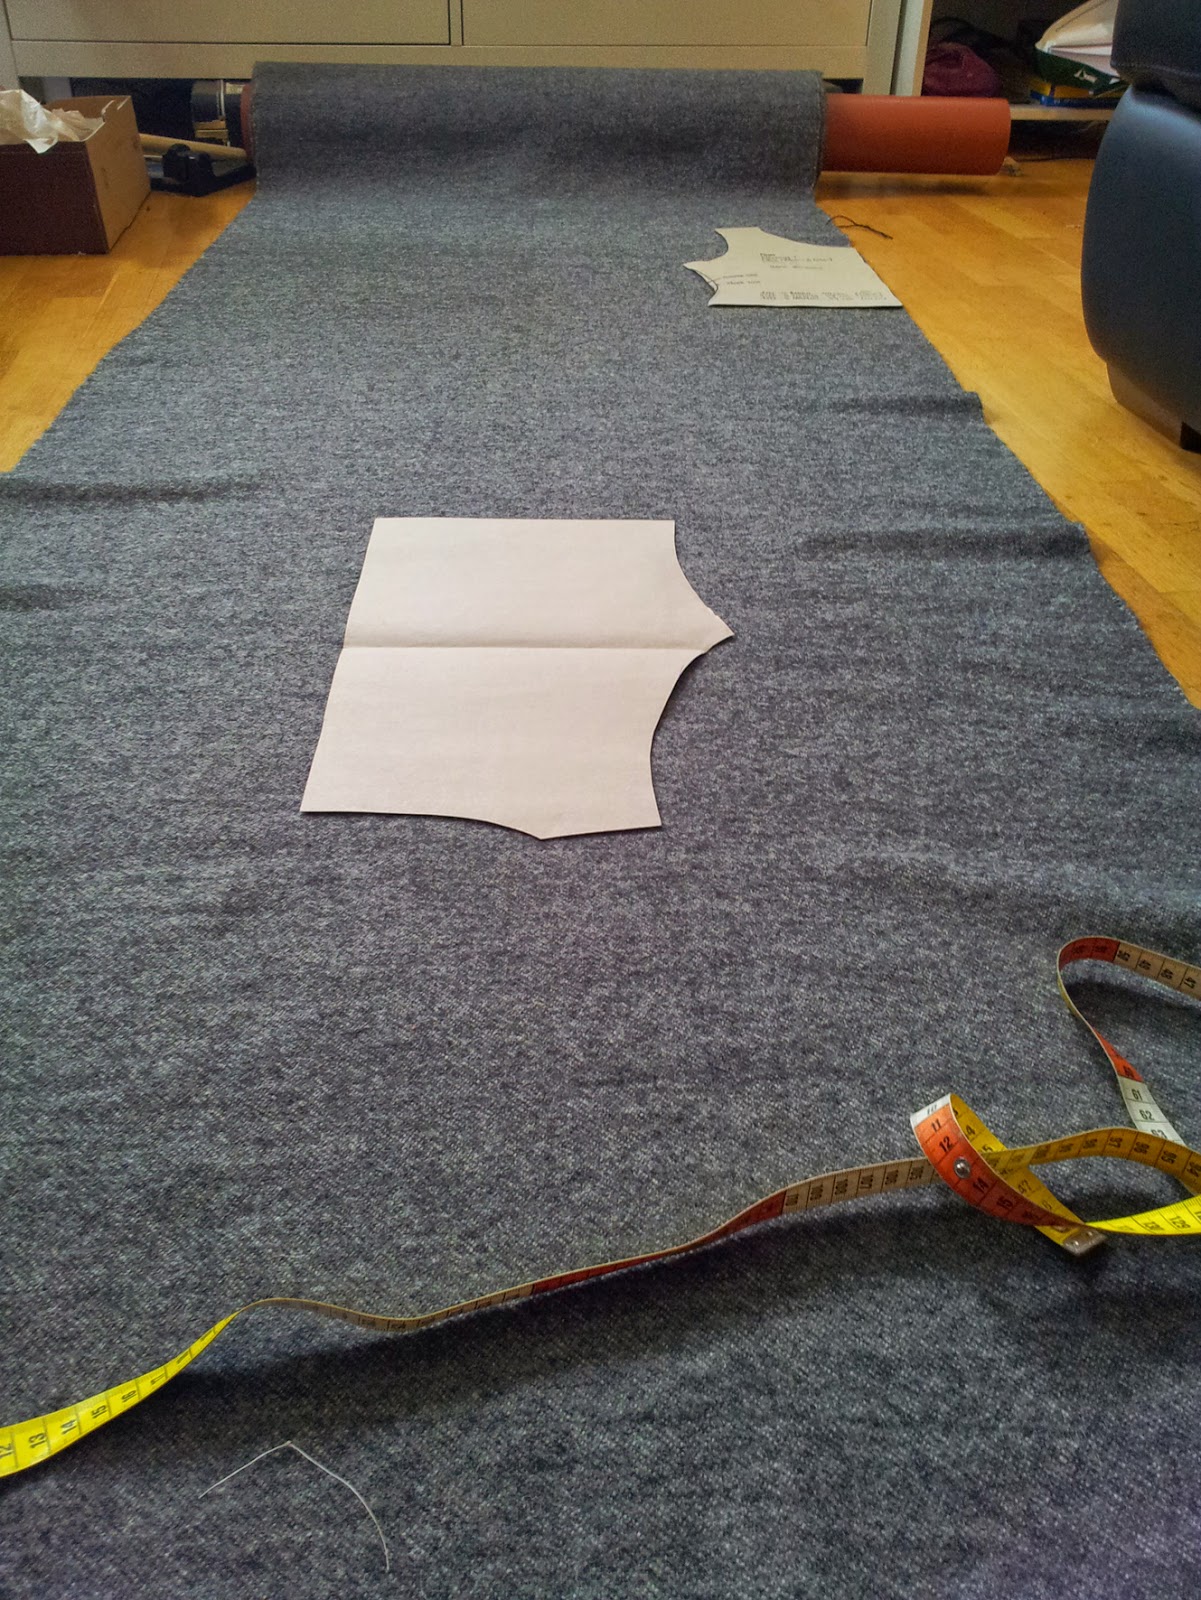
I used the body block I made for my supportive shift as a basis for cutting out the pieces. I've made enough dresses of this rather simple late 14th century style for myself to know how they work on my body, so these days, I usually do the fitting on myself with the real fabric, skipping the mock-up stage. I prefer dresses without back and front seams, so all the tweaking to get the fit right is done in the side and shoulder seams. Cutting with a little extra seam allowance in those areas gives me enough room to do the necessary adjustments. For this dress, I wanted to have lacing down the front, but I still put all the shaping into the side seams. I calculated that I could get at least two long-sleeved dresses out of my fabric, and probably something small like a hood, if I cut it economically. Eager to get going, I cut. 
 
Pattern pieces
The first cut! The brown thread marks one of the three weaving faults in my cloth...
And then realised that I should probably have added at least another centimetre of extra seam allowance since I was going to dye the damn things too! Mordanting and dyeing the cut pieces would almost certainly wreak havoc on the raw edges and ruin my precious seam allowance... Ah, well. I threw them in the dye pot anyway.

I had enough madder left for a weak 14% dye. This wouldn't be the bright red I got on my sample, but I was fine with that. I just didn't want a completely grey dress... Still, I was surprised by how strong the colour ended up – not a muted, watered-down pink like I had expected, but a cheerful orange, only tempered by the dark weft! The edges did fray, but not too badly. The seam allowance on the Herjolfsnes garments is about 7 mm and there was at least twice that left, so I had no reason to complain. 
 
Both the colour and the frayed edges turned out a lot better than expected
Despite this vadmal project, spinning was really my main focus last year (I just realised I've spent almost 5 years just practising spindle spinning! My blog post from 2010 sounds awfully naive, now!). I finally mastered (well, sort of) spinning with a distaff, which seemed like a necessary skill to accquire if I wanted to spin the way it was done in medieval times (there are practically no medieval depictions of spinners not using a distaff) and I tried my hand at producing sewing thread.
 
A slightly hairy thread...
I could probably make it thinner with more practice (after all, the 2-ply sewing thread from the Herjolfsnes garments is less than 1 mm in diameter), but it turned out to be a perfect thickness for my vadmal fabric as it was. My sewing thread has a lot of give in it; I think this will be a very good thing for a tight dress. The thread will take a lot more strain before breaking than the 2-ply linen I usually use for hand sewing.

All that's left now is for me to finish the dress... And decide what to do with the rest of the fabric!

Felling the shoulder seam à la Herjolfsnes

To sum things up: 
My version of a medieval vadmal fabric ended up with the following technical specifications after fulling, drying and dyeing: 

Weave type: 2/1 twill 
Warp: light natural grey 1-ply wool, z-spun, 9 threads/cm 
Weft: dark natural grey 1-ply wool, z-spun, 10 threads/cm
It was fulled in cold water for approximately 4 hours, with a total shrinkage of 10% (width) 
Finished width: 82 cm 
Finished length: ca 11 m
Dress pieces dyed with 14% madder.

Next time: Weaving Vadmal VI - The Dress